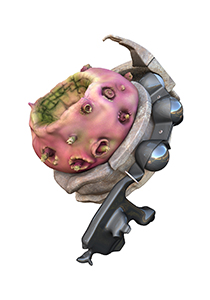
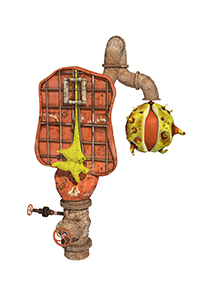
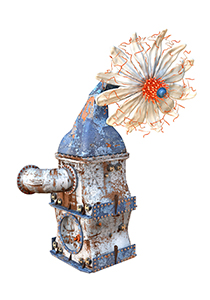
Artistic Process for Digital Originals
Watch a video of my Artistic Process for Digital Originals
1: Observe
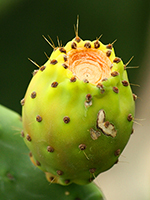
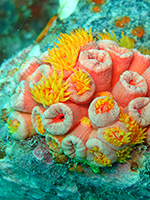
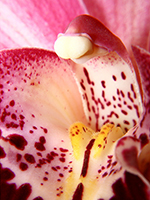
My creative process begins by watching and listening to the natural world. I am deeply intrigued by nature’s inherent efficiency, sustainability, and economy. Within its 3.8 billion years of evolutionary intellence, I find an endless supply of inspiraton.
2: Imagine
Once I am moved by an observation or insight, I spend time in deep intellectual inquiry and meditative states of contemplation, utilizing ancient and timeless techniques I’ve learned from various spiritual teachers.
Often while in these refined states, the forms and images in my work are revealed during visionary experiences. The most important quality at this stage of the creative process is a sense of receptivity, of ‘being shown’ what the work is trying to become.
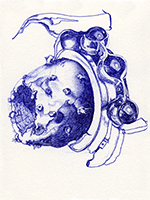
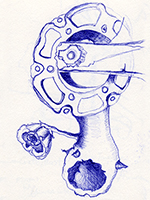
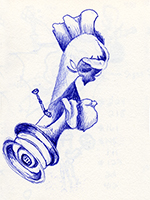
My imaginative or visionary experience leads to periods of sketching. While sketching, I explore giving form to the impressions from my visions and work out problems, opportunities, and details.
3: Model
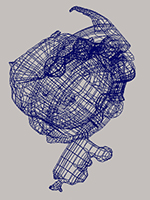
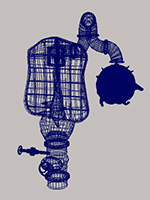
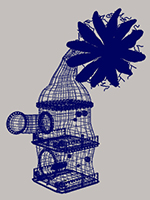
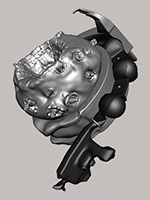
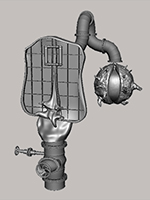
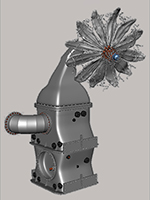
Guided by my sketches, I use a 3D modeling and animation software program; Maya, to build virtual wireframe meshes for the structural foundation. Maya is the professional program used in animated films and video games. This cutting-edge media technology enable me as an artist to bring to life imaginary or real characters, forms, and worlds.
I also use a digital sculpting tool, Mudbox, to cut, pull, or mold precise, elaborate details into the virtual sculptures and the 3D elements of the virtual environments. Ultimately, I may be manipulating hundreds of thousands –or even millions– of polygon, or faceted, surfaces. The more time I spend developing detailed, complex wireframe structures, the more realistic or fantastic the work can become.
4: Surfaces
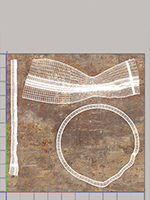
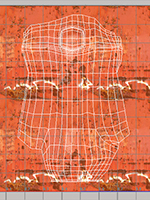
Next, I direct the computerized process to wrap a ‘skin’ around the wireframes, like laying a map over a globe of the earth’s surface in 3D. At this stage, also referred to as UV Mapping, I progressively control each aspect of the surface coverage on the 3D structures.
The surfaces that lay on the wireframes can be manipulated to an astounding degree. Depending on the project, this back-and-forth process of intricate refinement can take a as much time as modeling itself. It’s important to prepare the surfaces well –at this stage– for maximum control of the aesthetic quality of the finished work.
5: Textures
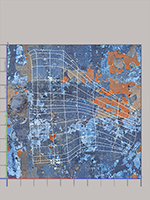
To give the models an even greater and more immediate sense of being ‘touchable or real,’ I next create digital painting (or sometimes use digital photographs) that are then overlaid on the surfaces. This important step heightens a sense of physicality and form by engaging multiple sensory impressions.
For example, while both plastic and glass may appear smooth, the most sophisticated use of texture can portray the critical differences, resulting in an appearance that is both consciously and subconsciously perceived. I am especially interested in surfaces that reveal the natural process of growth and decay and with juxtapose organic and inorganice properties.
I utilize both manual and procedural algorithic techniques in programs like Substance 3D Painter, Photoshop, and Materialize to create the final surface maps.
6: Render
Once the textures are placed on the models, I direct virtual lights and virtual cameras just as you would on a movie set or photo shoots. Effects that are especially refined or unusual can take dozens of lights minutely arranged and calibrated to create the final staged setting.
The function of a virtual camera is to control the point of view, similiar to a traditional camera, but without some of the limits of the physical world. Depending on the size and complexity of the work –and the effects that are sought– this can be a lengthy and difficult process before the setup of lights and camera is complete.
Finally, my project can be processed or rendered as a digital file in the form of: an image, sequence of images for video, as 3D content for a video game, or as data to generate and 3D print.
Single rendered images are printed with pigment ink on paper — either on their own as a virtual environment or to be cut and pasted as part of a collage.
7: Composite
In the final stage of the process, I use Photoshop to composite all the rendered layers, photographic layers, and digital painted elements. This also includes retouching elements or layers to enhance the tonal quality, color, or other vital details for the final piece.
Most of my work is shown on paper, either as drawings or printed paper with archival pigment inks.
